Computer Science > Class Notes > Setting Up a Mac for Software Development Using Python; With Graphical Illustrations, Examples and P (All)
Setting Up a Mac for Software Development Using Python; With Graphical Illustrations, Examples and Practrical Applications
Document Content and Description Below
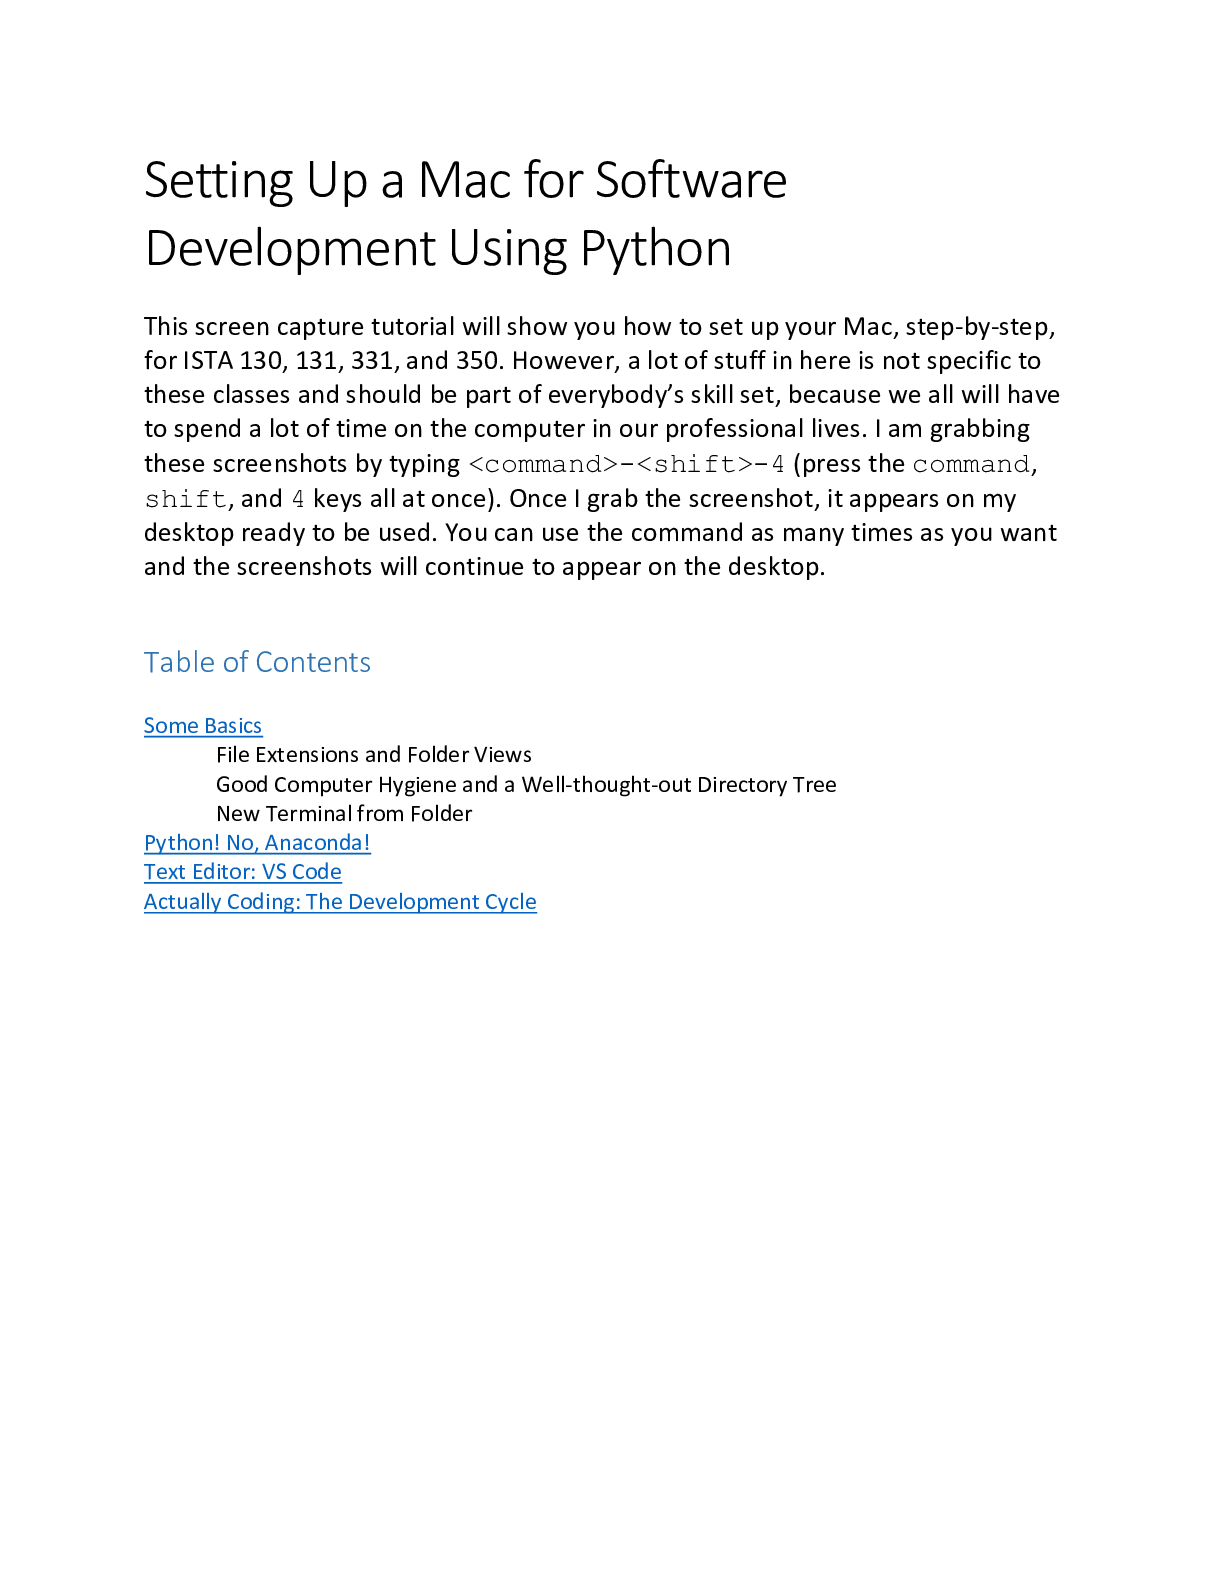
Setting Up a Mac for Software Development Using Python This screen capture tutorial will show you how to set up your Mac, step-by-step, for ISTA 130, 131, 331, and 350. However, a lot of stuff in h... ere is not specific to these classes and should be part of everybody’s skill set, because we all will have to spend a lot of time on the computer in our professional lives. I am grabbing these screenshots by typing <command>-<shift>-4 (press the command, shift, and 4 keys all at once). Once I grab the screenshot, it appears on my desktop ready to be used. You can use the command as many times as you want and the screenshots will continue to appear on the desktop. Table of Contents Some Basics File Extensions and Folder Views Good Computer Hygiene and a Well-thought-out Directory Tree New Terminal from Folder Python! No, Anaconda! Text Editor: VS Code Actually Coding: The Development CycleSome Basics First, let’s change a couple of Finder settings. Click on the Finder icon in your Dock (the bar that appears with some of your apps at the bottom or side of the screen). Click on the Finder tab at the top of the screen and click on Preferences: Click on Advanced and check the Show all filename extensions box: (This should be the default but it is not on either Mac or Windows.) Now click on the View tab and choose Show Path Bar:(Note: you must have a finder window open to do this) If we look at the bottom of our Finder window before and after, we see that where there was nothing before we now have a sequence of folders showing us the location of the current folder we’re accessing on our computer. In this case, we’re in the Documents folder. The path bar will prove hugely useful.It is often handy to have more than one Finder window open at one time. To open a second window, click on the File tab and choose New Finder Window from the drop-down menu. Now, if you need to move or copy files from one directory (folder) to another, you can see what happens. Students often inadvertently make copies of files when the intent is to move them, and this can cause some confusion and issues down the line. It would be nice to have a Documents shortcut on the desktop, so we drag and drop it from the path bar on to the desktop: A Downloads shortcut is also handy (probably handier). Now we can double-click the shortcut to open a Finder window directly to Documents. Now we want to make a folder inside Documents for our class (I'll use ISTA 130 in this example). It is vital to learn good computer hygiene: how to organize our file system in a logical way so that our thinking can be clear. And to clean up stuff we don't need anymore. I sometimes see students do the entire semester inside their Downloads directory. This is a disastrously bad idea. Don't do it. To make a folder inside Documents, two-finger/right click(I'll use the terms interchangeably, just like folder/directory) and choose New Folder from the drop-down menu: Once the new folder appears, we can start typing and name it whatever we want: Notice the underscore I put in the name to avoid spaces. It is easier to avoid spaces in directory and file names because we will be learning something called the command line, and the command line works better without spaces in names. Now we can double-click on the new folder to go into it and the name at the top will change: Inside this folder, we make more folders because we will have lots of materials and we need to build a reasonable directory tree to hold that material. We could make these folders by rightclicking as we did before, but let's click on the down arrow to the right of the gear symbol, the universal symbol for settings, instead, and choose New Folder:Make folders for each of hw1 through hw10, one for the ppts, for example code, etc. If you make a mistake doing stuff, undo it with command-z (hold down the cmd key and type z). Now let's make a shortcut on the desktop to the ISTA_130 folder. Don't drag and drop from the path bar, because it will pull the ISTA_130 directory right out of Documents and it will reside only on the desktop and it won't be a shortcut. This isn't the end of the world, but we prefer to have the actual folder inside Documents with a shortcut on the desktop that we can delete later while leaving the folder intact inside Documents. This keeps our archives complete while preventing our desktop from becoming unmanageably messy. To do this, get back to Documents (back arrow upper left, Documents button on the left, or open a new Documents window), and right-click on the ISTA_130 folder and choose Make Alias: The shortcut (alias) will appear in the Documents directory and we can drag it to the desktop:Now when we want to work on ISTA 130 using materials from D2L, we can double-click on our Downloads shortcut and on our ISTA_130 shortcut, and we will get two open windows and we can just drag files that we download from D2L into our 130 directory: Let's clean up our desktop by dragging our shortcuts into a more reasonable arrangement by moving them into the upper left-hand corner of the desktop: The last thing we’re going to do before moving onto installing Python is set up our mac so we can make a new terminal window from the folder we’re currently in. You’ll see why this is important later. First open System Preferences:Once you have it open, click on the Keyboard settings. Once that has opened, click on Shortcuts and then Services in the left menu.From there, scroll down in the right menu until you get to Files and Folders and then check the box corresponding to New Terminal at Folder. Now this functionality is enabled. Later, we'll see how to use it (settings icon in a given folder's menu bar).Python! No, Anaconda! We will now install Python (plus most of what you need to do data science using Python) in a huge package called Anaconda: Click to download the Python 3.7 version.Once it has downloaded, click the package (at the bottom of your browser or in your Downloads folder) to run the installer. First, click continue to allow the program to determine if it can be installed (if not, we have a problem!). Then, click Continue through the installer until it asks you to Agree to the terms of service license agreement, then click Agree.From there, tell it to Install. After you click Install it will prompt you for your user password: When it asks you if you’re interested in PyCharm, just click Continue (we won’t be using it in this class!). After that close the installer. It will ask you if you want to move the installer to the trash, you can Move to Trash. You don’t need it anymore, so why keep it around?To make sure Python has installed the way we want it to, hit command-space to open Spotlight search. Start typing the word terminal and hit enter when it comes up. Once terminal is open, it will prompt you to type something. You will see your username (in this case ual-laptop) followed by the $. Type python into the prompt. You know it has installed correctly if this appears: This is the Python shell (more about it later). To exit the shell type exit() and hit enter/return or just type <ctl>-z.Text Editor: VS Code Now that we have our computers ready for the course, it’s time to install the software we’ll be using this semester (and some extra). The first thing we need to download is a text editor. The text editor is how we create our code. Then we will run the code from the command line (more on this later) and see what goes wrong. We’ll fix the current problem in the text editor, then run it again to see what else goes wrong (something else usually goes wrong the first time around ). We’ll repeat until our program works. This is our development cycle. The text editor we will be using this semester is Visual Studio Code, called VS Code for short. First, let’s download it. Go to https://code.visualstudio.com/ or just google 'vs code'. Click on Download for Mac Stable Build:I’m in Chrome so I click on the box that appears, signifying the download, at the bottom of the browser. When you click on the download, your Downloads folder should pop up. If you aren’t using Google Chrome and didn’t see the download appear in your browser, you can go to your Downloads folder and click on VSCode-darwin-stable.zip. Inside of the Downloads folder, however you got there, you will see Visual Studio code.app and the .zip file you just opened. Click and drag the Visual Studio code.app application into your Applications folder. From there, click on the application to open it. A dialogue box will pop up stating that it’s an application downloaded from the internet, asking if you want to open it. Click Open.By default, VS Code inserts spaces instead of the tab character when you hit the tab key. Do not try to change this. I like to see my white space, so I hit View and then check Render Whitespace. When you click on New File at the top right of VSCode’s welcome page, a new document entitled Untitled-1 will appear. Try typing something in it. When you hit <space>, you’ll see a dot in between two characters (or words, if you typed words) appear signifying a space. If you hit the tab key, you’ll see four dots for four spaces.In the screenshot above, we can see that the page/file we’re on has focus in the top bar, like it would in a web browser. If you want to turn off VS Code's highly irritating desire to change the indent level of everything you copy and paste, click on the settings icon in the lower left corner and choose Settings from the popup menu. Click Text Editor, scroll down, and unclick the Auto Indent checkbox (which doesn't show up well on this screen capture): You can zoom in and out with <command><shift>+ and <cmd><shift>-. You can switch between tabs (files) with <ctl><tab> . This is really handy when you have so many files open that some of their tabs have disappeared.Sometimes we want to look at files side by side. If we want to move the page we’re on (the page in focus) into another section, we can hit <control>-<command>-<right arrow key> at the same time. Next, notice that our Untitled-1 file has a round button next to it and not an x to close the page. This means that Untitled-1, much like it would be in a word document, is an unsaved document. You can close the file by clicking on the button, and VS Code is unusually good at protecting the work you’ve done, but you should still save your work. If you want, you can configure VS Code to autosave (I’ll leave that to you to figure out). In a familiar way, you canclick File > Save as… to save your text file if you would like – make sure to add .txt to the end of the filename you choose (the text file extension). Next, click File and then New. Then File > Save as… or <command>-<shift>-S to save the file. Choose a filename that ends in the extension .py. VS Code will inform you in the lower right-hand corner that the python extension is not installed and give you the option of installing it. Click Install. If you want to print from VS Code, I recommend this. Let’s look at a couple cool features of VS Code. If we click next to a parenthesis, it highlights the parenthesis itself and the matching parenthesis by putting them in little boxes. This is really handy, because the most common Python mistake is to leave off a parenthesis. If we click next to the first one, no boxes appear because it has no matching paren.Notice a couple of other things – VS Code knows Python, so it color codes reserved words, builtin function names, etc. You can also change the default color scheme . Do this by clicking Code > Preferences > Color Theme (if your window is too small your menus won’t work correctly): More: https://code.visualstudio.com/docs/editor/codebasicsActually Coding: The Development Cycle VS Code can powerfully help you debug your code, but I would like you to learn to do it the way I am about to show you before you experiment with those features. Our development cycle will be to create a Python program in the text editor (VS Code), then run it from the command line. We will certainly get error messages. We will change the code to fix the errors in VS Code, save the changes, and run it again. Repeat until the program works. Once you’re good at this, then it’s okay to go onto using tools that insulate you more from the machine – like integrated development enviroments (IDE’s). Let’s go through the process. Make a new file in VS Code File > New File, File > Save As, name it hw.py (short for hello world). Type this code into the file: Save the file (<command>-s or File > Save). Open a Terminal from the folder containing the file (we set this up earlier!). Once in the folder, click the Gear drop-down menu and then click New Terminal at Folder:The folder the file is in should be next to your username, followed by the $. In this case our folder is named temp, but your folder name should be more descriptive. The correct paths are highlighted immediately above and in the VS Code screenshot. Notice that they match. It is an extremely common mistake to have more than one copy of a file with the same name in two different folders, so you end up editing one and running other. The symptom is that you keep changing your code, but you still get the same error messages. The folder that Terminal (or any program) looks in for files by default is called the current working directory (CWD) or just the working directory. The path to this directory is shown in VS Code and, also, now in your Finder window. To see what’s in Terminal’s CWD, use the ls command: Now we have a little Python program/script/module/file (words I will use interchangeably). Let’s run it from the command line using the python <script name> command. This is called script mode (as opposed to interactive mode, which is when you type code into a python shell:Here is interactive mode. Here we just type python into the command line to open a shell. Then, we can type Python code directly into it, see the output, and interact with it: Now get back to our editor, add a line of code, hit command-s to save the changes, click the Terminal window, hit the up arrow (which takes us back through our command history so we don’t have to retype commands all the time, and rerun the program. We can see the effect of our change:We have successfully created, run, modified, and rerun a simple program in Python! Yay! We’re on the way. [Show More]
Last updated: 1 year ago
Preview 1 out of 24 pages
Buy this document to get the full access instantly
Instant Download Access after purchase
Add to cartInstant download
We Accept:

Reviews( 0 )
$5.00
Document information
Connected school, study & course
About the document
Uploaded On
Jan 19, 2020
Number of pages
24
Written in
Additional information
This document has been written for:
Uploaded
Jan 19, 2020
Downloads
0
Views
87


