*NURSING > STUDY GUIDE > NR 224 Exam 3 Study Guide : CHAMBERLAIN COLLEGE OF NURSING (VERIFIED ANSWERS, DOWNLOAD TO SCORE A) (All)
NR 224 Exam 3 Study Guide : CHAMBERLAIN COLLEGE OF NURSING (VERIFIED ANSWERS, DOWNLOAD TO SCORE A)
Document Content and Description Below
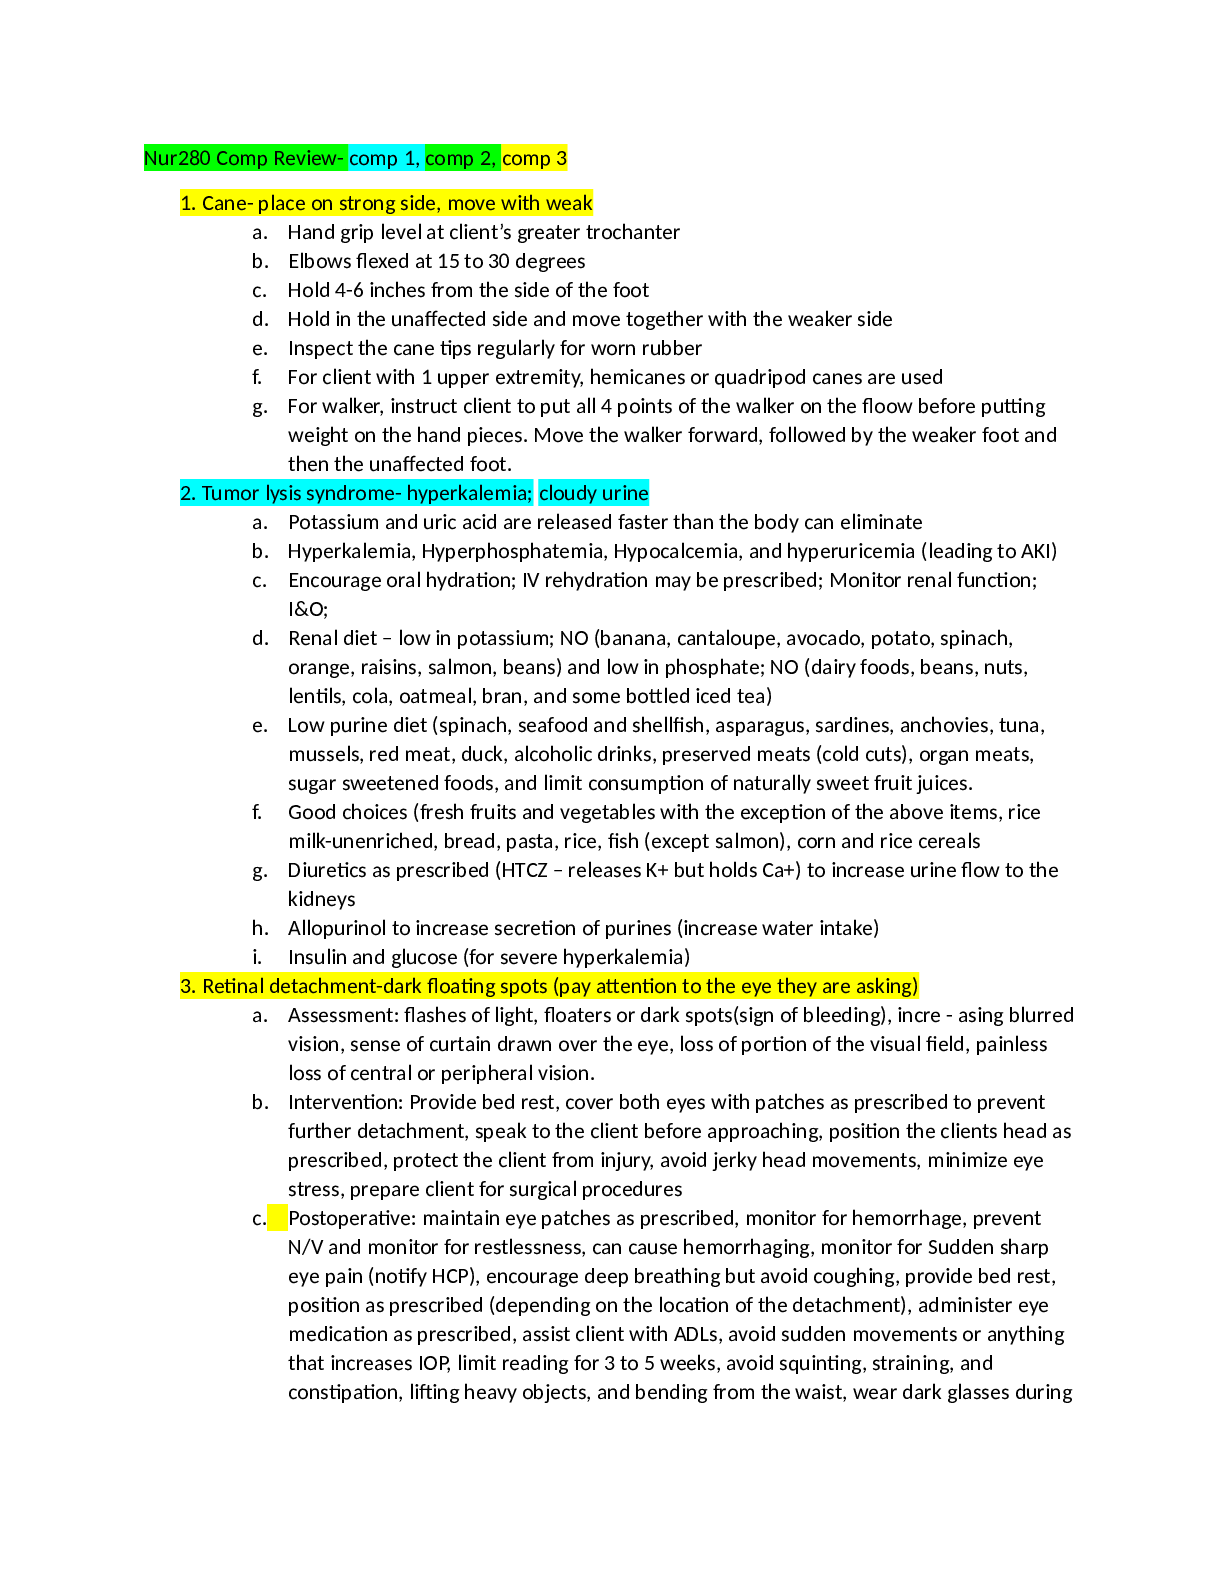
1. Health promotion and maintenance Exercise is necessary for wellness: it conditions the body; maintains fitness; restores body to a maximum state of health; brings benefits to vital body syste... ms (see box 38-5 below). Box 38-5 Effects of Exercise Cardiovascular System • Increased cardiac output • Improved myocardial contraction, thereby strengthening cardiac muscle • Decreased resting heart rate • Improved venous return Pulmonary System • Increased respiratory rate and depth followed by a quicker return to resting state • Improved alveolar ventilation • Decreased work of breathing • Improved diaphragmatic excursion Metabolic System • Increased basal metabolic rate • Increased use of glucose and fatty acids • Increased triglyceride breakdown • Increased gastric motility • Increased production of body heat Musculoskeletal System • Improved muscle tone • Increased joint mobility • Improved muscle tolerance to physical exercise • Possible increase in muscle mass • Reduced bone loss Activity Tolerance • Improved tolerance • Decreased fatigue Psychosocial Factors • Improved tolerance to stress • Reports of “feeling better” • Reports of decrease in illness (e.g., colds, influenza) A sedentary lifestyle contributes to the development of health-related problems o For example, Physical inactivity is a modifiable risk factor for the development of type 2 diabetes. Every person must have a plan of activities and exercise that enhances his physical fitness o The patient has to take ownership of the program of exercise First, the person needs to calculate their target heart rate: o 1. Calculate the maximum heart rate: Max HR = 220 – (age of person) o 2. Calculate target heart rate Between 60% and 90% of Max HR *** Please note that this is meant to serve as an augmentation tool. Students ARE subject to be tested on any material related to readings, simulations, labs, assignments and activities within the course. *** 1January 2016 NR224 – Study Guide Exam 3 The exercise activities require: o warm-up before the exercise: 5 to 10 min., includes stretching, or calisthenics, or the exercise itself at a lower intensity o cool-down after the exercise: 5 to 10 min., to readjust gradually to the body’s baseline functioning, includes stretching and relaxation. A well designed exercise program includes 3 types of exercises: o (1) aerobic: e.g. walking, running, bicycling, aerobic dance. Frequency 3 to 5 times per week, 30 minutes each time. o (2) resistance training: weight training to enhance muscle tone and strength, and to stimulate and maintain healthy bone. If formal weight exercise in not possible, then ADLs (Activities of Daily Living) may provide this exercise, e.g. pushing a vacuum cleaner, raking leaves. o (3) stretching and flexibility: include active ROM (Range-of-Movement) to stretch muscle groups and joints; improves flexibility, circulation, motion, and relaxation. 2. Restorative Continuing Care Involves implementing activity and exercise strategies to assist the patient with ADLs after acute care is no longer needed. Restorative and continuing care also includes activities and exercises that restore and promote optimal functioning in patients with specific chronic illnesses such as coronary heart disease CHD, hypertension, chronic obstructive pulmonary disease COPD, and diabetes mellitus. 3. Assistive devices for walking; proper technique Uses to promote activity and exercise by teaching the proper use of canes, walkers, or crutches, depending on the assistive device most appropriate for the patient’s condition. Walkers – are extremely light, movable devices that are about the waist high and made of metal tubing. The walker has four widely placed, sturdy legs. The patient holds the handgrips on the upper bars, takes a step, moves the walker forward, and takes another step. It requires a patient to lift the device up and forward. At home many patients prefer walkers with wheels or short runners on the legs that allow them to push the walker. Is important instruct patients on how to use walkers safely and avoid risk of falling. Canes – are lightweight, easily movable devices made of wood or metals. Canes provide less support than a walker and are less stable. A person’s cane length is equal to the distance between the greater trochanter and the floor. Two types of cane are the single straight-legged cane and the quad cane. The single straight-legged cane is more common and is used to support and balance a patient with decreased leg strength. Have the patient keep the cane on the stronger side of the body. For maximum support when walking, the patient places the cane forward 15 to 25 cm (6 to 10 inches), keeping body weight on both legs. The weaker leg is moved forward to the cane so body weight is dividing between the cane and the stronger leg. The stronger leg is then advanced past the cane so the weaker leg and the body weight are supported by the cane and weaker leg. The patient needs to learn that two points of support such as both feet or one foot and the cane are on the floor at all times. *** Please note that this is meant to serve as an augmentation tool. Students ARE subject to be tested on any material related to readings, simulations, labs, assignments and activities within the course. *** 2January 2016 NR224 – Study Guide Exam 3 The quad cane – provides the most support and is used where there is partial or complete leg paralysis or some hemiplegia. The patient needs to learn the same three steps that are used with the straight-legged cane. Crutches – are often needed to increase mobility. The use of crutches if often temporary (after ligament damage to the knee). However, some patients with paralysis of the lower extremities need them permanently. A crutch is a wooden or metal staff. The two types of crutches are: Double adjustable Lofstrand or forearm crutch and the axillary wooden or metal crutch. The Lofstrand or forearm crutch has a handgrip and a metal band that fits around the patient’s forearm. The metal band and the handgrip are adjusted to fit the patient’s height. The axillary crutch has a padded curved surface at the top, which fits under the axilla. A handgrip in the form of a crossbar is held at the level of the palms to support the body. It is important to measure crutches for the appropriate length and to teach patients how to use their crutches safely to achieve a stable gait, ascend and descend stars, and rise from a sitting position. 4. Proper measurement for assistive devices Measuring for Crutches – The axillary crutch is the more common crutch used. Measurement includes the patient’s height, the angle of elbow flexion, and the distance between the crutch pad and the axilla. When crutches are fitted, ensure the length of the crutch is three to four finger widths from the axilla to a point 15 cm (6 inches) lateral to the patient’s heel. Position the handgrips so the axillae are not supporting the patient’s body weight. Pressure on the axillae increases risk to underlying nerves, which sometimes results in partial paralysis of the arm. Determine correct position of the handgrips with the patient upright, supporting weight by the handgrips with the elbows slightly flexed at 30 degrees. Elbow flexion may be verified with a goniometer. When you determine the height and placement of the handgrips, verify that the distance between the crutch pad and the patient’s axilla is three to four finger widths. 5. Safety using assistive devices Crutch Gait – Determine the gait by assessing the patient’s physical and functional abilities and the disease or injury that resulted in the need for crutches. There is the basic crutch stance and 4 standard gaits: four-point alternating gait, three-point alternating, two-point gait, and swing-through gait. The basic crutch stance is the tripod position, formed when the crutches are placed 15 cm (6 inches) in front of and 15 cm (6 inches) to the side of each foot. This position improves the patient’s balance by providing a wider base of support. The body alignment of the patient in the tripod position includes an erect head and neck, straight vertebrae, and extended hips and knees. The axillae should not bear any weight. The patient assumes the tripod position before crutch walking. Four-point alternating, or four-point, gait gives stability to the patient but requires weight bearing on both legs. Each leg is moved alternately with each opposing crutch so three points of support are on the floor at all the times. Three-point alternating, or three-point, gait requires the patient to bear all of the weight on one foot. In a three-point gait the patient bears weight o both crutches and then on the uninvolved leg, repeating the sequence. The affected leg does not touch the ground during the early phase of the three-point gait. Gradually the patient progresses to touchdown and full weight bearing on the affected leg [Show More]
Last updated: 1 year ago
Preview 1 out of 27 pages
.png)
Reviews( 0 )
Document information
Connected school, study & course
About the document
Uploaded On
Aug 07, 2021
Number of pages
27
Written in
Additional information
This document has been written for:
Uploaded
Aug 07, 2021
Downloads
0
Views
36




.png)


